
Parameters in Google Data Studio make data visualization more engaging. They allow the user to customize reports by adding unique values into charts and reports. In addition, the Data Studio parameters are used in calculated fields to show results based on user input. However, understanding how parameters work can be a bit tedious. This is why, this post (structured in a how-to format) will take you through the different use cases of applying parameters in Google Data Studio.
Apart from allowing users to input data in the calculated fields, parameters also allow you to create custom report templates. They operate in the same way as variables in programming languages. Variables pass values to the reports defined by a user.
The three major uses of parameters in Google Data Studio include:
- Displaying results depending on what a user inputs.
- Sending back custom parameters to connecters such as Facebook and Google Ads.
- Sending back custom parameters to Google BigQuery (a SQL query).
Depending on your knowledge level of parameters, feel free to directly scroll to the section that interest you the most.
How to configure a simple parameter in your data schema?
In this section, we are going to connect a Google Sheets file and create a parameters within it.
Connecting Google Sheets to maximize flexibility when setting up a parameter
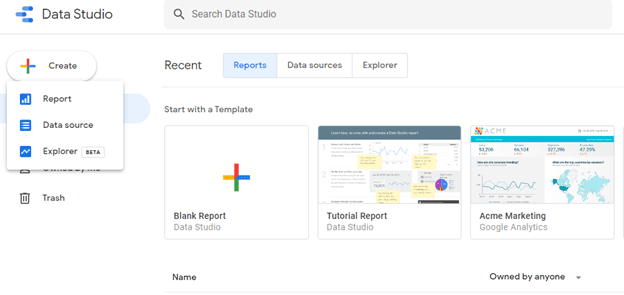
- Open the Google Data Studio Dashboard.
- Click the “+ Create” a button on the right upper corner and select a data source from the pop-up menu.
- Of the available options, select Google Sheets.
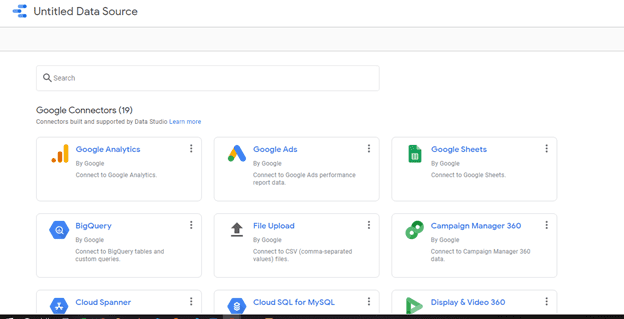
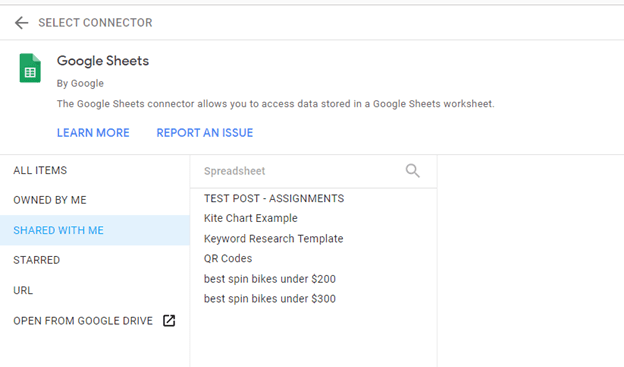
- You will see all Google Sheets available. Choose any that you want to work on. I recommend a simple sheet, without too many columns and data.
- Now click the “Connect” button to link the data source and generate a data schema.
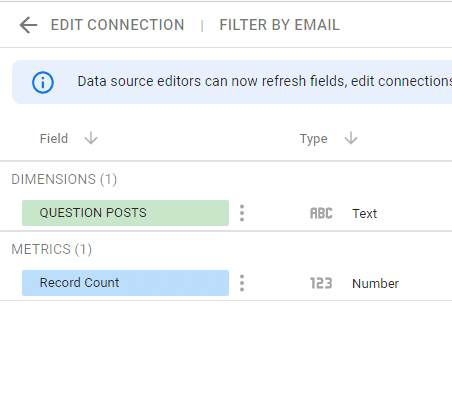
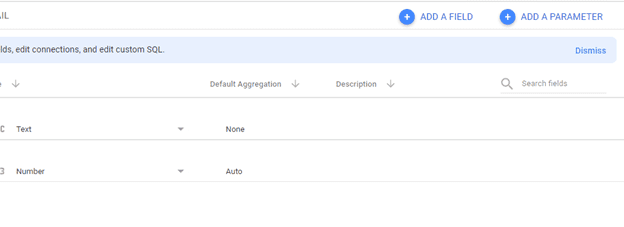
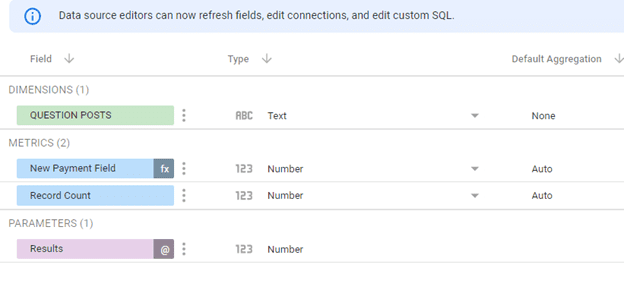
- A page such as the one below will appear, which is where you will have to define the parameters. In our case, Google Data Studio has generated the default “Record Count” and also we have a “Text” dimension. Of course, your configuration might be different.
How to create a parameter?
I know you are eager to add and configure your parameter, but first, you will need to understand the following concepts:
- Parameter ID: Data Studio uses a parameter ID internally to identify the parameter. Report viewers will not see the parameter ID. It is set by default. Changing parameter ID will break the calculated fields.
- Parameter name: This is the name that refers to the parameter in the list of available parameters.
- Permitted values: It specifies the values that a user can input.
- Data type: Parameters can store Boolean, numbers, and text values.
- Default value: It specifies the automatic starting parameter value.
Now, you are ready! (sorry the intro took so long). Let’s continue from where we left off.
- Click on “Add a Parameter” on the top right corner in the data schema.
- A parameter form such as the one below will pop up. Fill in the “Parameter name”. In the “Data type” drop-down, you can use a Boolean, Number, or Text.
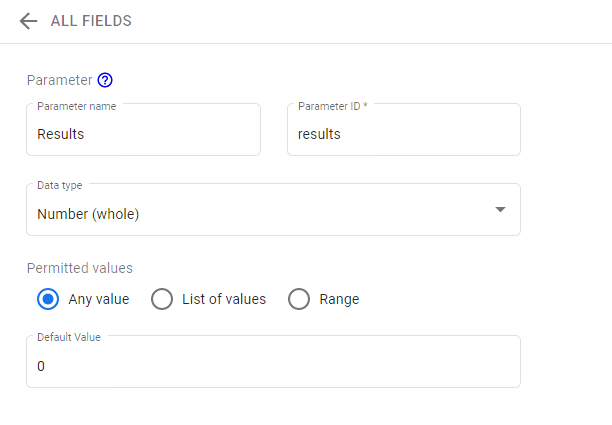
- The next step will require a permitted data setting that is based on the selected data types. We have used a whole number in this example, and that’s why we have three options: “Any value”, “List of values” and “Range”.
You can add any value to the first option. But in the list of options, you can only select from the provided values. Lastly, you can set a range of permitted values by choosing a range. Users will have to choose only a value that falls in the range that you set. This option also allows you to set a default value. However, for our example, we are going to use any value option.
- Save your settings by tapping the blue “Save” button. This will generate your parameter.
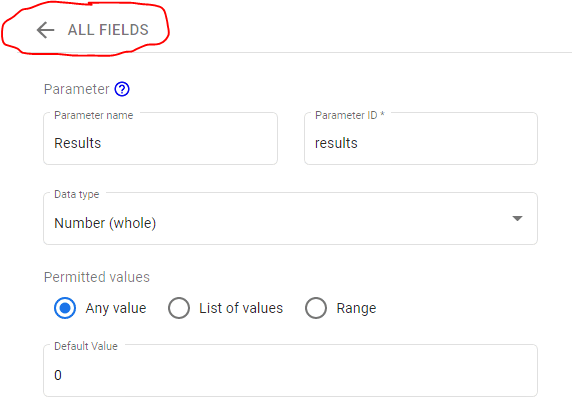
- Go back to the previous page by clicking the arrow next to “All fields”.
The parameter that we have just created will appear in the data schema.
How to configure parameters within a calculated field in Google Data Studio?
So far, we have created a parameter called “Results”. But I need to add a new field with the payment amount using the calculation mechanism. Here are the steps to follow when configuring a field:
- Add a new field by clicking on the upper right corner.

- Rename the field using a descriptive name.

This is the section where we need to define the field pattern of calculation. Since we need to calculate the total payment in our case, then we can use the following formulae.
New payment Field = Record Count * Results
The next step is to implement the formula in the field.
- Click the “+” button that appears upon hovering on the parameters.
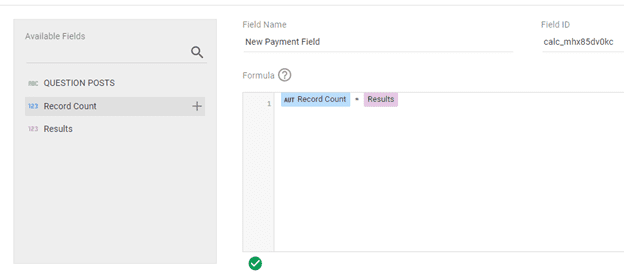
Note that you cannot mix “Text” and “Numbers” when using the operators. After clicking the “+” button, you would be able to see the field in the formula tab. Next add “*” (for multiplication) and the last remaining field to complete the formula.
- Save your work to complete the schema.
- Navigate back to the previous field by clicking the arrow next to all fields. Its located at the far left corner.
- The “New Payment Field” is now showing in the schema.
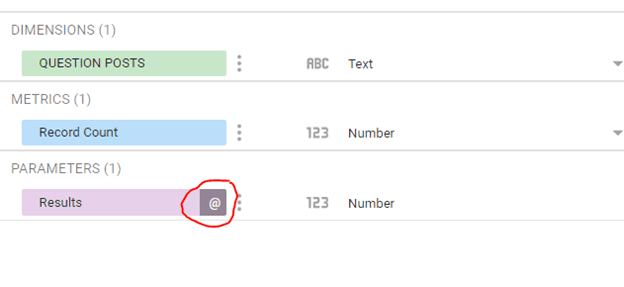
- To make changes, click the @ button next to the parameter that you want to edit. Click save after making any changes and go back to the previous page.
Advanced editing techniques to modify parameters further in Google Data Studio
How to show or hide parameters in reports?
You can show or hide parameters in your reports once you have created a data source. To do that, you can:
- Edit a data source that includes parameters.
- Select the parameter.
- Click on the three dots located to the right of the parameter.
- Click show parameter/hide parameter.
If you hide the parameter, it will be automatically removed from the list in the reports properties panel. Any components that use this parameter will be broken. The calculated field will use the default values for the formula when you hide a parameter.
How to copy a component with parameters?
If you copy a component with set parameters, then all the values in the property panel are copied as well. You can edit the component to ignore the copy’s parameters
How to fix invalid parameters?
Sometimes the parameter configuration may change, causing charts using it to break. For instance, if the ability to override a value is removed, the report will no longer provide the required data. All the charts impacted by this change will show an error.
You can fix this. Simply locate the invalid parameter and click fix invalid values on the parameters section of the component. Note that you can set the parameters at the group level, page, report, and on individual charts.
How to override default parameter values?
Google Data Studio offers two different methods to override default parameter values:
Method 1. Edit individual components in a report to override the default parameters
- “Edit” the report.
- Click on any component that includes parameters.
- Click on the bottom-left of the data tab to change the default values.
Method 2. Edit parameters at the page or report level.
- “Edit” the report.
- Choose a file to edit File > Page or Report Settings > Current Page Settings.
- Change the parameter values.
How to change parameters using the report link in Google Data Studio?
Advanced users and developers can set their parameters using the report’s URL. These type of parameters can configured programmatically. The corresponding values of Google Data Studio parameters are encoded and passed as encoded JSON strings. Since they are appended to the URL, you can edit them by following these steps:
- “Edit” the report.
- Click on Resource > Manage report URL parameters.
- Check the “Allow to be modified in report URL” box.
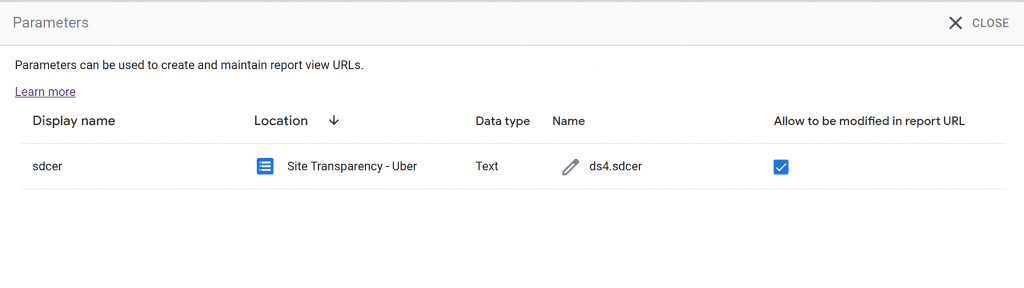
This page also loads the other URL parameters. You can edit the name by clicking the edit pencil icon. Make sure that all the URL parameters are unique. Edit the parameter name does not affect how it is used in your report.
Final Thoughts
With parameters, Google Data Studio has now brought in a new way to make data visualization more engaging. Users can customize the reports by adding their own values into calculations and charts. All this is made possible by using parameters. They are used for displaying results in calculated fields based on the user input. You can also pass them back to a community connector or BigQuery via a custom SQL query. It allows users to add new values or change the input using a slider, text input, or a dropdown. Besides, the values can also be set by configuring the report URL.
I hope this was helpful! If you have any questions, feel free to DM me on LinkedIn or subscribe to my newsletter for more updates.
Dynamic Dashboards and Data Analysis with Google Data Studio – 2021
If you want to learn how to build powerful data visualizations and unlock insights that can help you drive business results for your clients or employers, take a look at my full course on Udemy.

1 comment
Can u give me an example about using parameter in url embed data studio
Comments are closed.